The history of photography
|
|
900AD Alhazan discovers camera obscura
1452-1519 Leonardo Da Vinci 1500 A renaissance camera obscura 1724 Johann Heinrich Schultz 1826 Joseph Nicephore Niepce 1833 Louis Daguerre discovers an example of a Daguerrotype 1840 Henry Fox Talbot discovers an example of a calotype print 1870 Richard Leach Maddox discovers the Gelatin dry plate camera 1871 Nicephore Niepce - view from the window at Le Gras 1877 Edwaerd Muybridge Horse 1885 George Eastman's rolled film 1925 Leica Camera and Oskar Barnak |
Camera Obscura

To make the camera obscura (the original one was made in 900AD by Alhazan) we got a Black piece of sugar paper and made it into a box looking shape, and then we secured it with some tape, we then got another square piece of sugar paper and made it cover the gap we also put tracing paper over the other end, and we secured them both with tape as well, we made a hole in the black side of the paper, and looked through the side with the tracing paper with a magnet and measured it (mine was 6cm) we then got some more black sugar paper and measured it to our sizes, and secured the magnifying glass with tape as well.
DSLR Intro. Documentation

1. Shooting Mode, Displays the text or icon corresponding to the shooting mode you have selected
2. Shutter Speed, Displays the time interval during which the shutter is open
3. Battery Level, Displays the remaining battery level with an icon
4. Shots Remaining, Indicates the number of remaining shots that can be captured
5. Image-recording quality, Displays the image-recording quality
6. ISO Speed, A higher ISO speed makes it easier to capture shots of a dimly-lit scene
7. Aperture Value, this indicates the extent to which the aperture blades inside the lens are open

|
1. Eyecup, this stops external light from entering
2.Viewfinder Eyepiece, a small window on the camera which you look through 3. LCD Monitor, information on the photo 4. Menu button, displays the menu for adjusting the different camera functions 5. Playback Button, button to playback images you have captured 6. Wifi lamp, This lamp indicates the wireless connection status 7. Access Lamp, the lamp flashes when the data is switching form the camera to the memory card 8. SET Button/Multi-controller, The Multi-controller keys are directional buttons 9. ISO Speed Setting Button, Press this button to adjust the sensitivity of the camera toward light 10. Quick control button, Pressing this button displays the Quick Control screen 11. Display Button, controls the display 12. Delete button, use this button to delete unwanted images 13. Focus point selection button, use this button to auto-focus 14. Live photo button, use this button to turn live photo on/off 15. Dioptric Adjustment Knob, Use this knob to adjust the clarity of the viewfinder image |

1. The shutter, press button to take picture
2. Red eye reduction, Makes sure eyes aren't red
3. Lens mount, fit the lens to the camera
4. The lens flex, helps you put lens on
5. Lens Release Button, press this to detatch lens
6. Mirror, It reflects light from the lens
7. Microphone, built in microphone
8. Built in flash, Used to bring light to a dark place

1. Focus Mode Switch, to switch between auto and manual focus
2. Speaker, to play back recorded audio
3. Strap mount, where the strap attaches to the camera
4. Hot shoe, this is where you attach a flash
5. Power switch, On/Off button
6. Mode dial, use this to switch modes
7. Flash button, use this to trigger the built in flash
8. Main dial, multi purpose dial
9. Zoom ring, Zoom In/Out
10. Focus ring, Focus when the camera is on auto-focus
Natsumi Hayashi

This photo was taken by Benji Reid recently, he is trying to get the illusion in the photo that he is floating with a blue smoke bomb, the times that the photos were taken would not affect the outcome of the photos because he took these photos underground, I like the fact that the blue smoke is covering his face because it gives the whole new feeling because he could be making any sort of facial expression in this photo so we don't know the mood of this photo. I chose to include this photo because it gives a good feeling to it because it's underground with no people around so it gives off a feeling of loneliness and aloneness.

|

|
Here we took the photos on 250/1 to capture the exact moment of the levitation this is used also by Benji Reid.
|
|
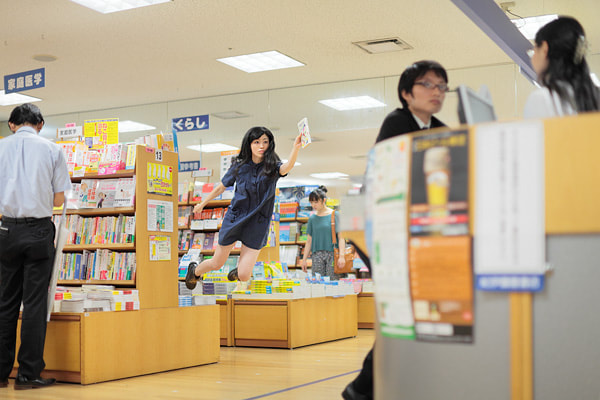
Here we used a chair to jump off of to give the photo the effect of looking like he is floating, we once again took this photo on 250/1 to give us the exact movements and capture them perfectly,
|
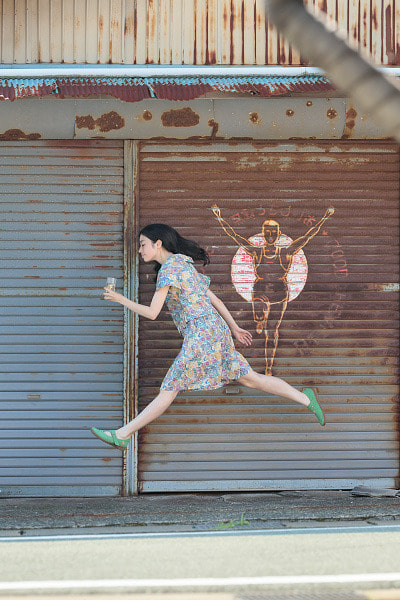
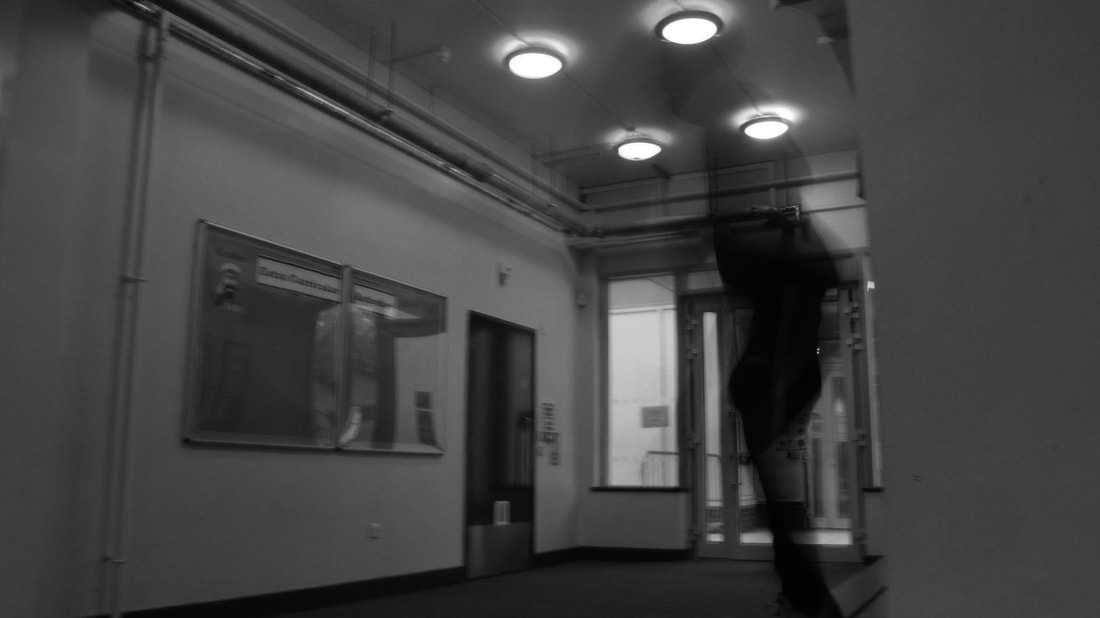
In this photo we used 250/1 to make it look like Nathan was levitating we got him to jump off the wall and we caught him at the perfect moment and it looks like he's floating in mid-air.
|
|
Shutter speed

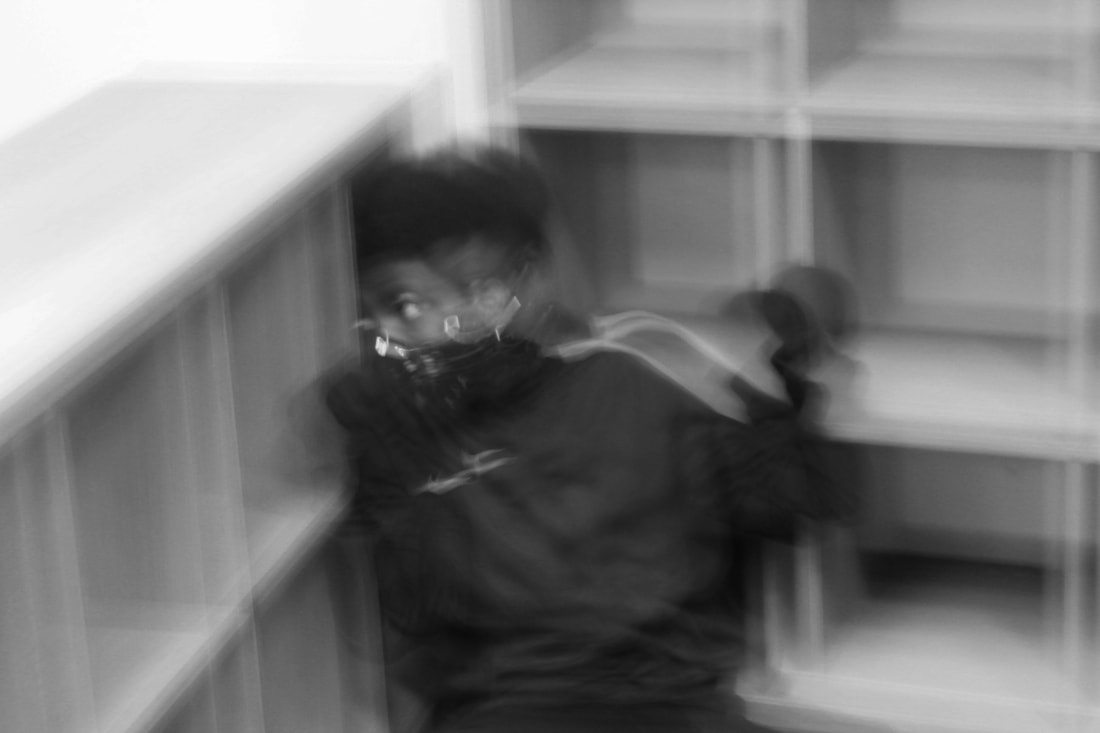
This photo of Nathan here was taken on the shutter speed of 1" (1 second) and because our photo was taken in front of a white background the photo was overexposed.
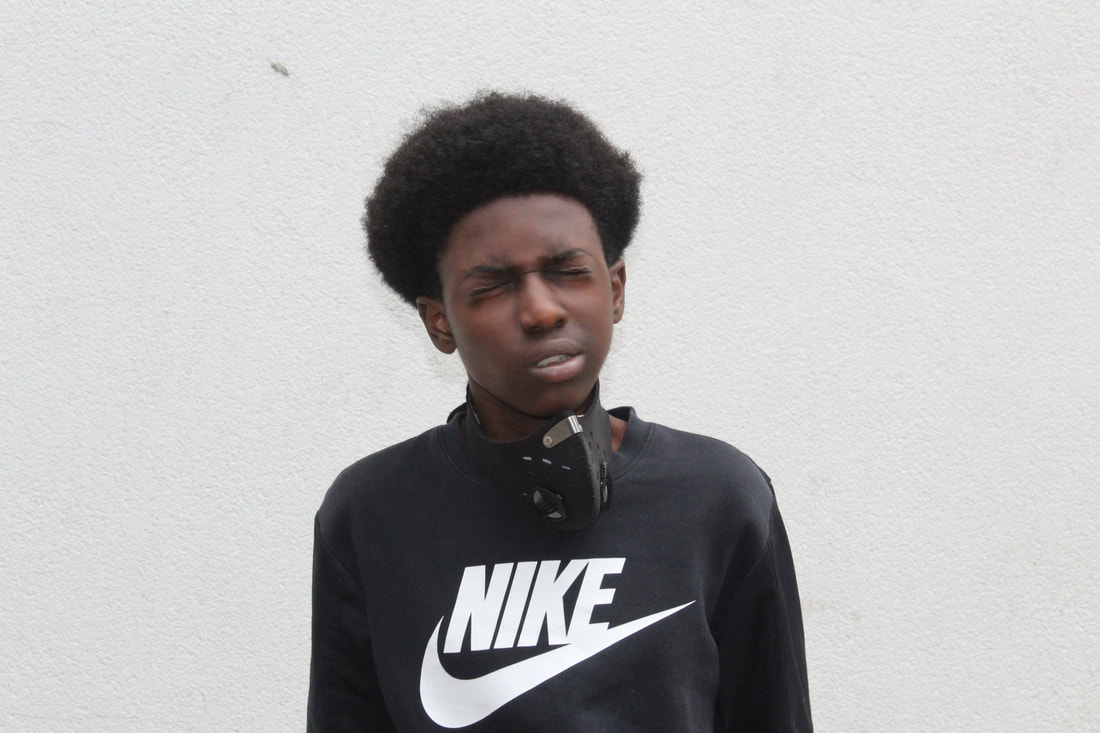
This photo was taken on 200/1 and you can see Nathan shaking his head.
Francesca Woodman


|

Francesca Woodman intended to make the photo look like she was slowly falling to the floor with her feet still on the floor at the time, You can see this because she kept her feet extremely still whilst moving the upper half of her body, and also putting her arms towards the floor, She wanted us to think she was falling towards the floor, I think that she did this very well because of the techniques that she has used.
|
|
|

|
In my response to Francesca Woodman's work we recreated her work quite similarly we used our shutter speed at 1" second we recreated the photo of her jumping well and made them look similar in the jump but different in the background, on the other hand, we could improve our work by having less camera shake, we can do this by using a tri-pod next time.
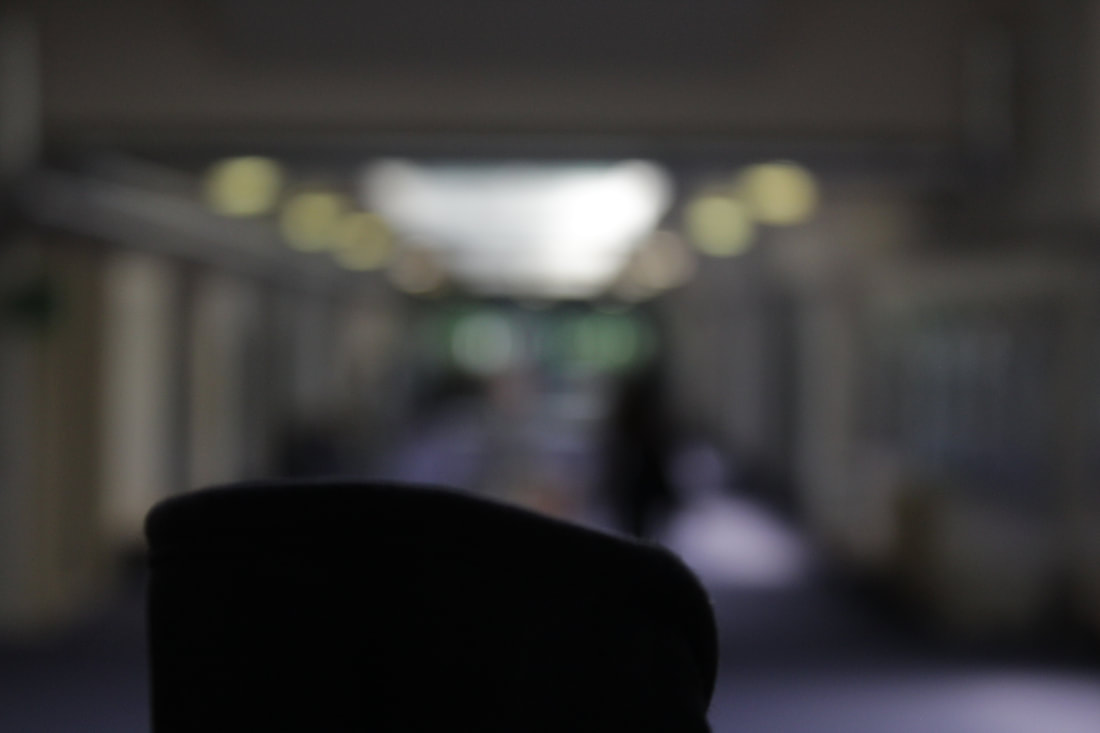
Aperture

F29 ISO1600 Shutter speed1/30
|

F4 ISO1600 Shutter speed1/250
|
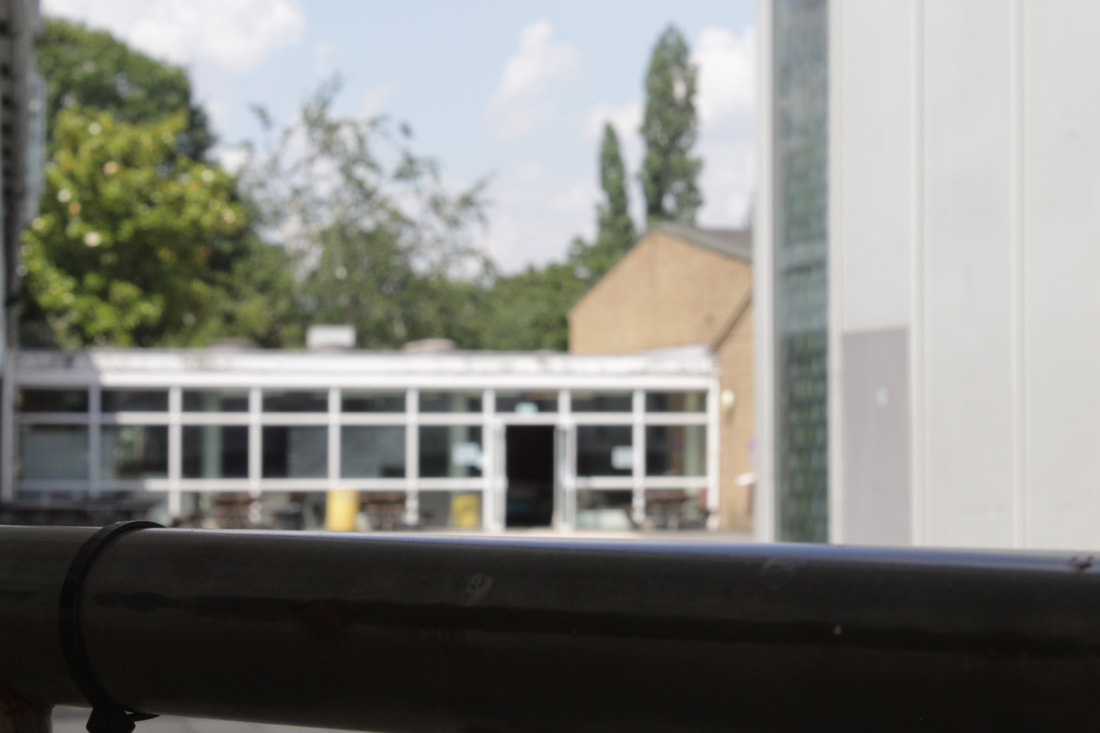
Aperture is the name of the hole in the camera lens. The aperture settings can be applied manually or automatically and will have an impact on the amount of focal range. For example, you can have a photo of two people, one in front of the other, and depending on the aperture it will determine whether they are both in focus or whether only one of them is in focus.
Rule of thirds
|
|

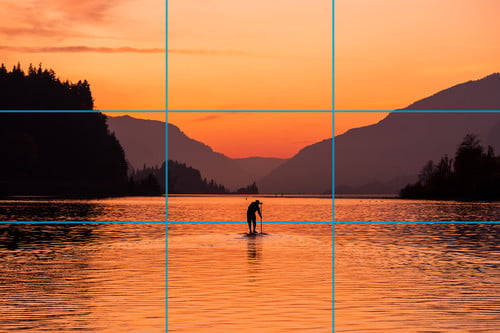
The Rule of Thirds is the process of dividing an image into nine parts, using two horizontal and two vertical lines and four intersection points. When you position the most important elements of your image on any of these lines, you produce a much more interesting picture. As seen in the photo above.
GIF's

In this task, I took 9 photos of Aleks to form a GIF we took them on a low shutter speed so that his head would be still in all the photos when we put them together, in this GIF I took a series of photos of Aleks looking straight, left, right, up and down. It creates a form of stop-motion infinite video.

This is work from Romain Laurent he has taken a lot of photos because it looks like a video that is repeating itself over and over again, my work compared to his nowhere near as good as his, for example, his one looks very clean whereas mine is a lot more stop and start.
